Cross Stitch Photoshop Action: A Designer’s Review
As a professional embroidery designer and product reviewer, I approach every new tool with a healthy dose of skepticism. The market is flooded with digital assets that promise instant results but often fail when translated into actual thread on fabric. When I first loaded the Cross Stitch Photoshop Action, my primary question wasn't about how pretty the screen preview looked, but whether it could serve as a reliable blueprint for real-world production. For Etsy sellers, apparel decorators, and makers running a craft business, the gap between a digital graphic and a viable machine embroidery design is where profit margins live or die. After testing this add-on across several mockups and digitizing workflows, here is my practical assessment of its utility for commercial and personal projects.
First Impressions and Visual Texture
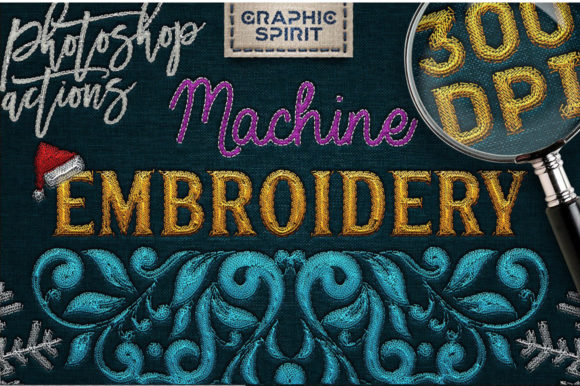
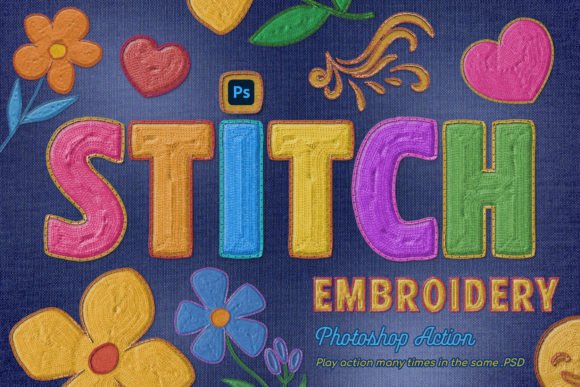
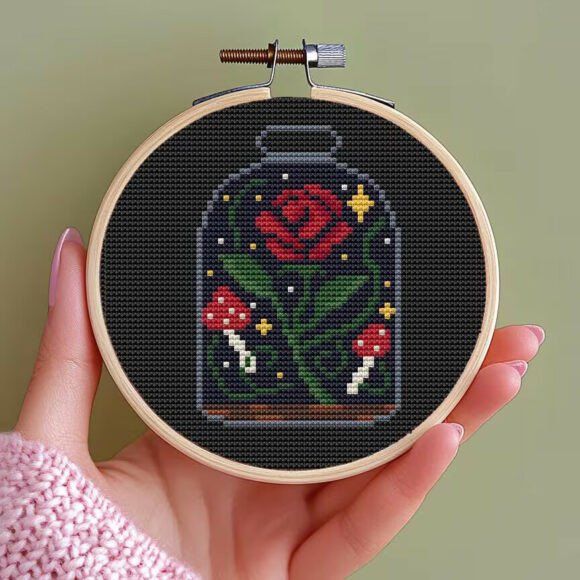
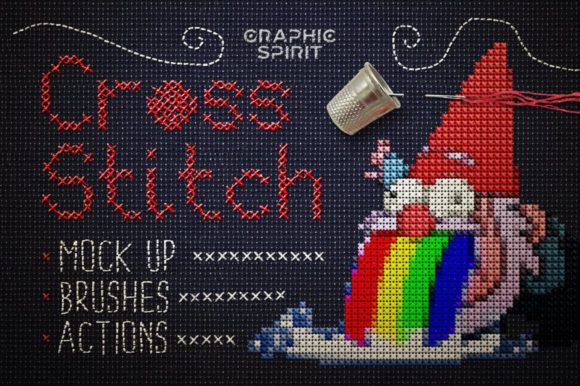
The immediate strength of this Cross Stitch Photoshop Action lies in its ability to generate authentic texture rather than just a pixelated overlay. Many similar graphics tools simply apply a grid filter, resulting in a flat image that lacks the dimensional quality necessary for convincing embroidery mockups or digitizing references. This action, however, utilizes the included Canvas Styles (.asl) to create depth. When you run the Quick Start Cross Stitch.psd file, the result mimics the interplay of light and shadow found in actual cotton floss on linen.
For a designer, this distinction matters. When I am evaluating a concept for a personalized gift or boutique merchandise, I need to see how the design breathes. The mood created by this action is distinctly handmade and nostalgic, yet clean enough for modern custom apparel. It avoids the chaotic noise of low-resolution conversions, presenting a structured layout that respects the logic of cross-stitch. This visual clarity is essential when communicating with clients who need to approve a design before you commit hours to digitizing or stitching.
Real-World Application: The Custom Sweatshirt Test
To truly evaluate this tool, I applied it to a scenario familiar to many small shop owners: designing a custom embroidered sweatshirt for a fall collection. The goal was to convert a client’s hand-drawn botanical sketch into a cross-stitch style motif suitable for heavy-weight fleece. Using the action, I was able to rapidly visualize how the organic lines of the sketch would translate into the rigid grid of cross-stitch.
This step is critical because not all graphics survive the transition to stitch. The action helped me identify immediately that certain delicate curves in the original drawing would become jagged and unrecognizable at a 4-inch hoop size. Instead of wasting time digitizing a flawed concept, I adjusted the artwork in Photoshop using the action’s feedback loop until the silhouette read clearly. The resulting printable mockup was accurate enough that the client approved the design without requesting a physical sample first. For an Etsy seller or apparel decorator, this efficiency reduces turnaround time and builds customer trust through accurate representation.
Where to Exercise Caution in Production
While the Cross Stitch Photoshop Action is a powerful visualization aid, it does not replace technical embroidery knowledge. There are specific scenarios where reliance on this graphic effect requires careful consideration.
- Small Hoop Sizes: The action creates beautiful detail on screen, but remember that cross-stitch relies on distinct blocks. If you plan to use this for baby embroidery or cap designs where the area is limited, you must verify that the generated grid scale corresponds to a stitch length your machine can handle. Tiny crosses often turn into mud when stitched; always simplify the output for small formats.
- Fabric Texture Conflicts: When applying this style to mockups for textured fabrics like terry cloth towels or ribbed knits, ensure the digital canvas style doesn't clash with the physical fabric grain. A smooth digital cross-stitch overlay on a highly textured background can look artificial. Adjust opacity or blending modes to let the real fabric texture inform the final presentation.
- Stretchy and Curved Surfaces: Cross-stitch is inherently non-stretchy. If you are using this action to preview designs for stretchy jersey knits or curved cap fronts, understand that the rigid grid shown in Photoshop will distort during actual stitching. Use the action for aesthetic approval, but rely on proper stabilizer choices and digitizing techniques to manage the physical distortion.
- Dense Stitch Areas: The visual density of the action can be deceptive. A solid block of color in the PSD might look fine, but as a fill stitch or satin stitch, it could cause puckering or needle breaks. Always treat the output as a visual guide, not a stitch map. You must still calculate stitch density and underlay based on your specific machine embroidery design software.
Impact on Product Value and Brand Consistency
In the competitive landscape of handmade products and digital embroidery files, presentation dictates perceived value. Using this Cross Stitch Photoshop Action elevates the professionalism of your listings. For digital product sellers offering patterns or design assets, consistent, high-quality previews signal to buyers that the underlying file is well-crafted. It removes the guesswork for the customer, showing them exactly what the finished product should aspire to look like.
For those selling physical goods, such as embroidered patches or holiday embroidery items, this tool aids in brand consistency. By establishing a specific cross-stitch aesthetic in your marketing materials and mockups, you create a recognizable visual identity. Customers begin to associate that specific textured look with your shop’s quality. Furthermore, when creating personalized gifts, being able to show a client a realistic preview of their name or custom graphic in cross-stitch style significantly increases conversion rates compared to showing a flat vector proof.
Practical Notes for Embroidery Designers
Before integrating this add-on into your commercial workflow, keep these practical considerations in mind to ensure safety and quality.
- Verify Licensing: Always confirm the license terms included with the Quick Start Cross Stitch.psd and Canvas Styles.asl. Ensure you have the right to use the generated visuals for commercial embroidery projects, digital product sales, or client work. Never assume commercial rights exist without documentation.
- Test on Scrap Fabric First: Use the action to create your design reference, but never skip the physical test stitch. Thread colors behave differently than RGB pixels. A contrast that pops on screen might vibrate unpleasantly in polyester thread. Check your thread color palette against the digital preview.
- Check Stabilizer Requirements: The action helps you visualize coverage, but you must determine the stabilizer needs based on the resulting density. If the action suggests a dense, full-coverage design, you will likely need a heavier cut-away stabilizer than a sparse outline would require.
- Black and White Validation: Before finalizing any design derived from this action, convert your mockup to grayscale. If the design loses readability without color, it lacks sufficient structural contrast. Good embroidery stands up even in monochrome; this test ensures your design has strong bones.
- File Format Awareness: Remember that this product provides .psd and .asl files, which are graphic sources. They are not machine-readable embroidery files like .DST or .PES. You must still digitize the design or use it as a template for existing digital embroidery files. Do not list these graphic assets as ready-to-stitch files unless you have converted them.
The Cross Stitch Photoshop Action serves as an excellent bridge between creative ideation and technical execution. It allows designers, makers, and business owners to iterate quickly and present ideas with confidence. However, its true value is unlocked only when paired with genuine embroidery expertise. Use it to enhance your vision, streamline your client approvals, and elevate your mockups, but always let the realities of thread, tension, and fabric guide your final production decisions. When used responsibly, it is a worthy addition to the toolkit of any serious embroidery entrepreneur.